A friend of mine on another forum does that, pretty effectively too. She only wraps half of the sides (for airflow) but it keeps most of the poop in.
Here's her post about it, with instructions and pictures:
-----------------------------------------------------------------------
What you will need:
A peice of Fleece aprox 65" X 60"
A scissor
Binder Rings
Gromet kit (optional)
The measurements can be adjusted depending on your needs. I have about 1/3 of one side covered and 2/3 on the otherside (more poopies were being flung on one side).
I had to sew mine because I had bought reminents. Also I sewed around the edges to prevent tearing but that shouldn't be a problem.
Pre-wash your fleece to shrink it ahead of time so it isn't ill-fitting after you put the work into it.
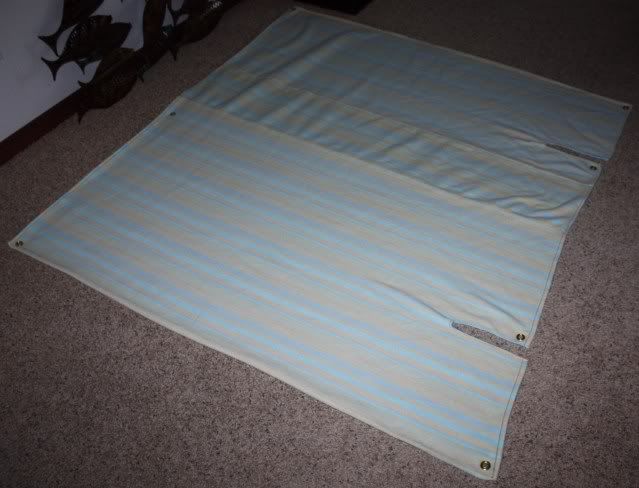
Here is what it will look like when it is done (I used gromets as you can see)
The slits on the bottom is where it wraps around the bottom legs:
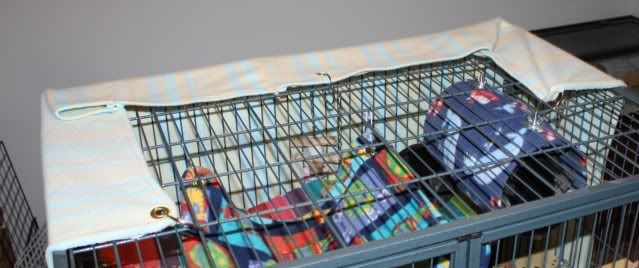
The width I used was 65" . Position where you want your wrap. Then add 3 binder rings to hold it in place (grommets are optional).
When you hang it the corners will fold nicely and lay flat:
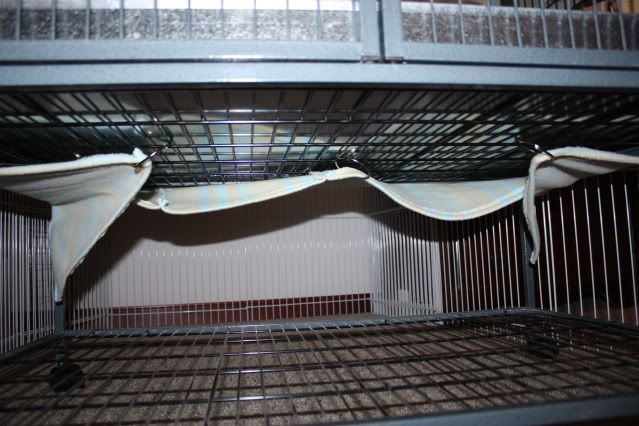
Now go to the bottom and cut rectangular silts where the legs of the cage are. FYI - on the FN, the distance between the two slits will be 36 inches.
The bottom can be arranged as you like. I used 3 rings on the middle peice (the 36" one) to flip the bottom up for a poopie catcher.
Next take two rings and flip the side peices up:
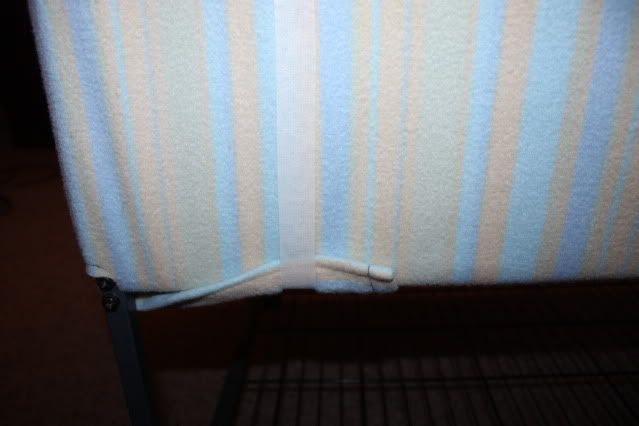
Currently I'm using peices of masking tape to fold the last bit up. You can also use cloths pins or other clips if you prefer (I will switch to that eventually)
When you take it off to clean, leave the binder rings on the cage. Then when you go to put it back up everything will line up right.
------------------------------------------------------------------------------------
I'm actually just about to do this for a bird cage, so I had JUST looked up the instructions for myself.